
It’s no secret that Flodesk is my favorite email marketing platform — I recommend it to literally everyone who manages an email list. In this post, I’m going to be showing you how to create, customize, and add a Flodesk form to your Showit website.
In case you haven’t heard of Flodesk yet, here’s a quick overview of why I love and recommend it so much:
Key Features of Flodesk:
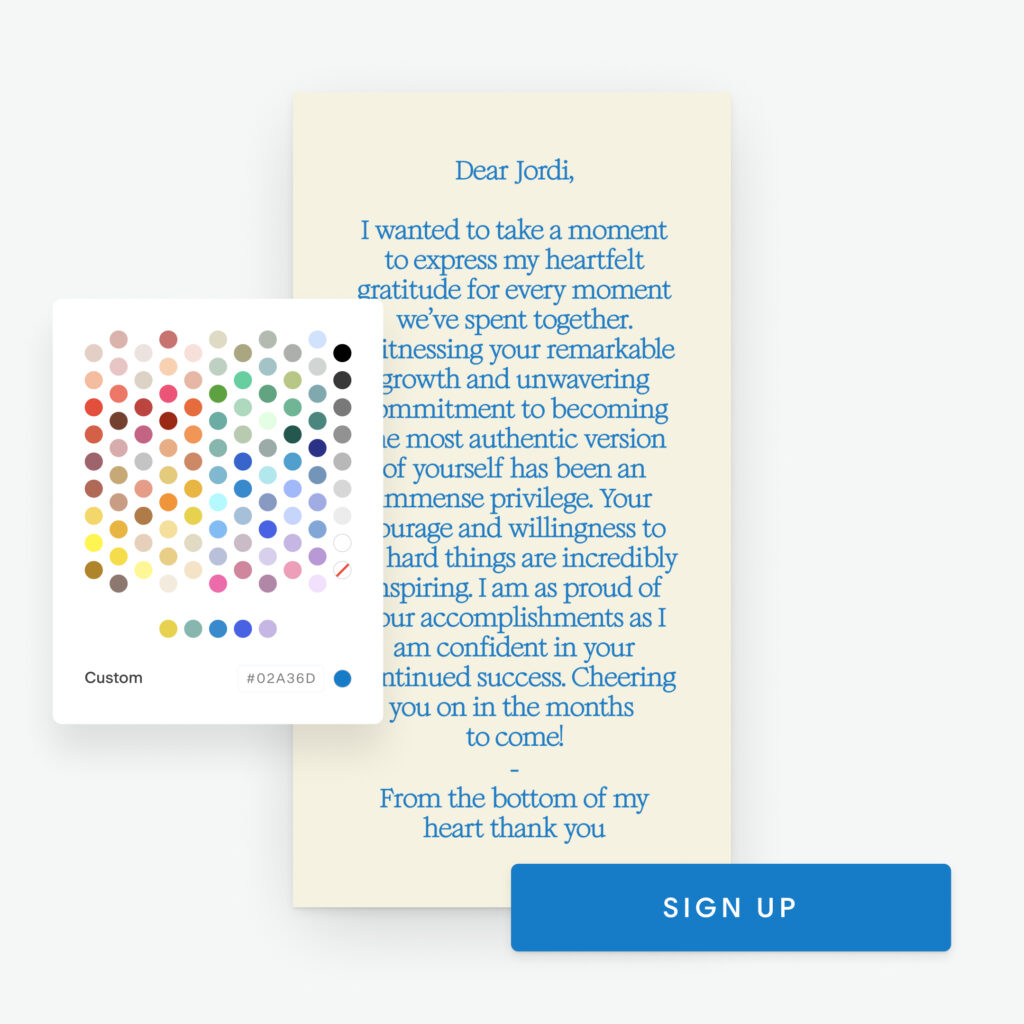
- It allows you to easily create stunning emails and on-brand forms for your website in a matter of minutes
- It’s the easiest email platform to use for styling your forms so that they’re cohesive with your brand (you’ll need to code most of the other ones)
- You pay one fixed price, no matter the size of your email list (something other platforms don’t offer)
- It’s super user-friendly and comes with loads of free templates for you to start using straight away
Save 50% on your first year with Flodesk
Disclaimer: This post contains affiliate links which means I earn a commission if you purchase using my link or discount code (at no extra cost to you). None of these links are sponsored and I only recommend tools I truly love and use in my own business.
In this post, I’ll be covering:
- How to get started with Flodesk segments
- How to manage multiple freebies in Flodesk
- The different types of Flodesk forms
- How to customize your Flodesk form
- How to add an inline Flodesk form to your Showit website
- How to add a popup Flodesk form to your Showit website
- How to set up a workflow in Flodesk
- How to add multiple Flodesk forms to the same page
Showit Tutorial: How to Add a Flodesk Form
How to get started with Flodesk segments
Before you start designing any forms, you’ll want to make sure you set up your segments. Segments are basically how you can organize, or “tag” your subscribers, so you can customize the emails you send to each segment of your audience..
You can view, edit, and add segments under the “Audience” tab in Flodesk.
The most common segments that you might want to use are Newsletter and Freebie segments. If you have multiple freebies, be sure to label each one so you can distinguish which freebie someone has joined your list from.
How to manage multiple freebies in Flodesk
For example, let’s say you have an Intuitive Eating workbook as one of your freebies. You’ll want a segment named “Intuitive Eating Workbook Freebie”. If you have another freebie that’s an Intuitive Eating video training, you’ll want another segment named “Intuitive Eating Video Training Freebie”.
That way, you’ll be able to distinguish which freebie is which (rather than just calling it “Freebie Opt In”), and if you ever add a different workbook freebie in the future, it will be clearly labeled so you’ll be able to keep track of which is which). You’ll also be able to track which segment gets more signups, which will allow you to see which freebie is most popular with your audience.
Different types of Flodesk forms
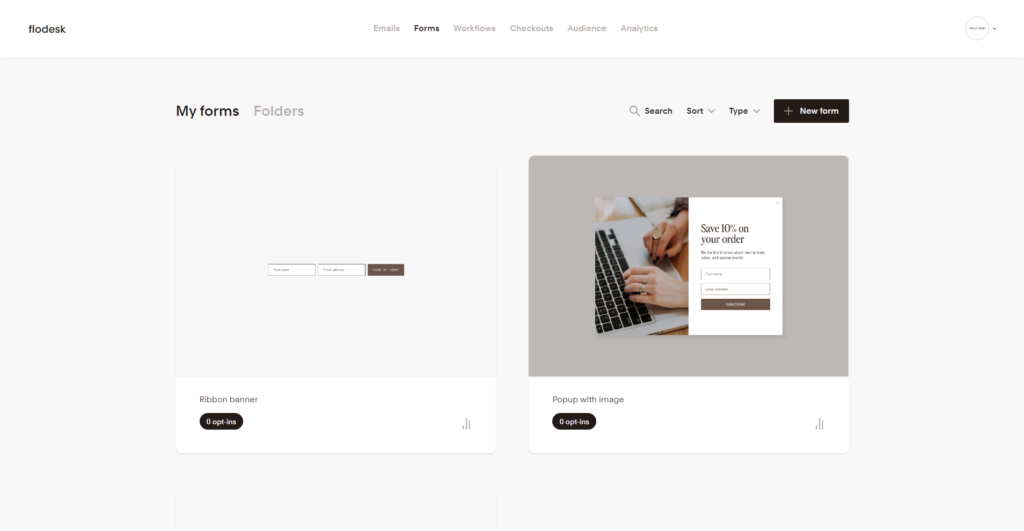
Once you’ve set your segments up, it’s time for the fun bit — customizing your form to match your branding! Flodesk offers a variety of different form layouts to choose from, but the 3 main ones I regularly use and recommend are:
- Inline Ribbon Banner (for forms on one line)
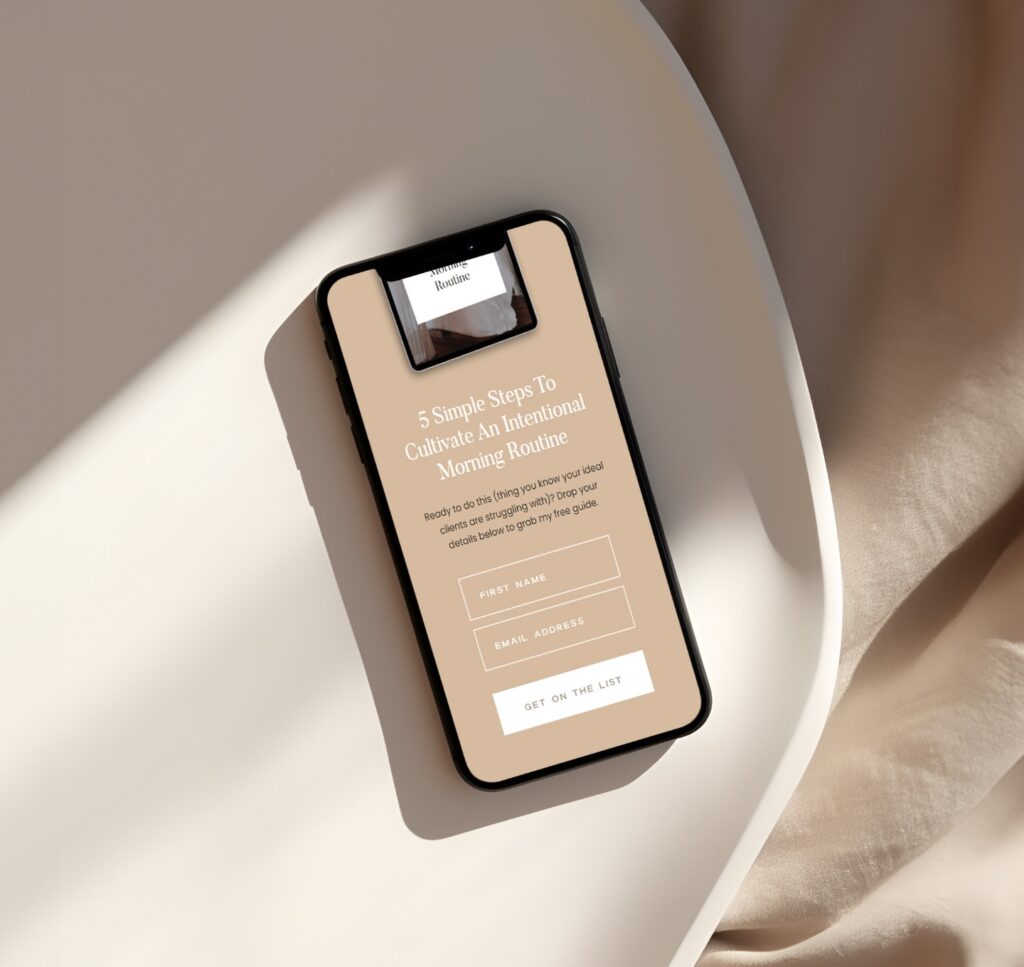
- Inline Without Image (for forms with stacked fields)
- Popup With Image (if you don’t already have a popup in your Showit site)
If you have a Showit website template, you’ll want to choose the most simple form style possible, as your website content will do most of the heavy lifting for you.
Customizing your Flodesk form
In Flodesk, navigate to Forms, click the New Form button, and then select either Inline or Popup from the left hand panel. Pick a form and click on it to start customizing.
Here’s an overview of the steps:
- Set the background and canvas color both to transparent
- I recommend deleting all of the placeholder text and instead, add this directly into Showit to keep it on brand with the rest of your site
- Edit/delete the form fields as needed
- Customize the fields style
- Customize the button style
- Customize the button text
- Pro Tip: Don’t forget to customize the thank you message that will appear once someone has entered their details. If you’re adding your form to a dark background, you’ll want to make sure you change the text color to white (or something visible) as the text color will be black by default to start with.
- Customize the options under the Settings tab
Once you’ve finished customizing your form to match your branding, it’s time to add your Flodesk form into your Showit website.
How to add an inline Flodesk form to your Showit website
Once you’ve gone through all the steps in Flodesk, the final step is to embed your form.
If you have a Wild Kind Showit Website Template and you’re using one of the opt-in canvases provided, you’ll just need to delete the placeholder fields and unhide the embed box that we added in ready for you.
If your Showit website doesn’t include an embed code box, add one from the Showit toolbar pictured below:
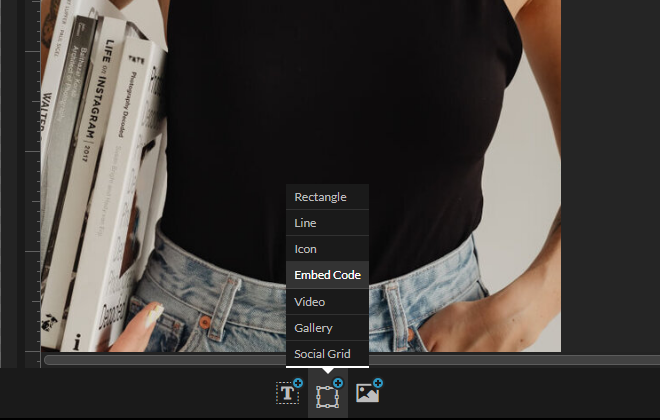
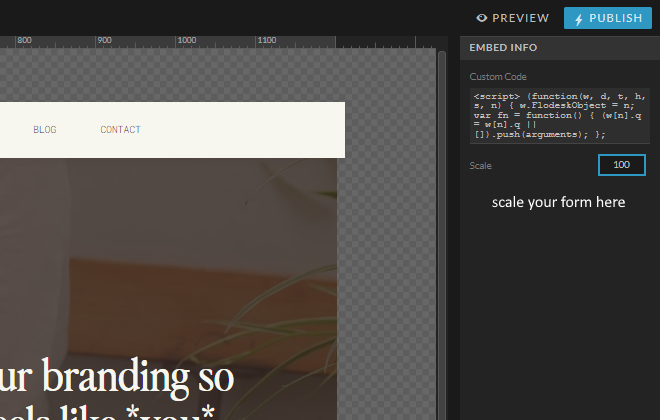
Head back to Flodesk to grab the first code and paste it directly into your embed box. Then, hit return and grab the second code and paste it in the same embed box.
You *can* add the first code into the header section of Showit, but this way doesn’t let you preview the form in the back end of Showit. I prefer pasting both codes straight into the embed box so I can make sure I get the spacing right without having to go back and forth on the preview site a bunch of times..
Resize your embed box and position it until you’re happy with it, then click the Preview button in Showit to check your form looks good on the front end.
Depending on the form style you choose, you may still need to adjust the position of the form, or the size of the embed box. Sometimes forms can look slightly different in the back end than they do on the front so check and then double check you’re happy with everything. You can also scale your embed down in Showit if you need to.
How to add a popup Flodesk form to your Showit website
Once you’ve customized your popup form and are happy with how it looks, the final step is to embed your form.
- Copy the code to your clipboard and head over to the back end of your Showit site.
- Once you’re in Showit, select the page you want the popup to appear on
- Make sure only the title of the page is selected (not any canvases), select Advanced Settings, and then Custom Head HTML (pictured below)
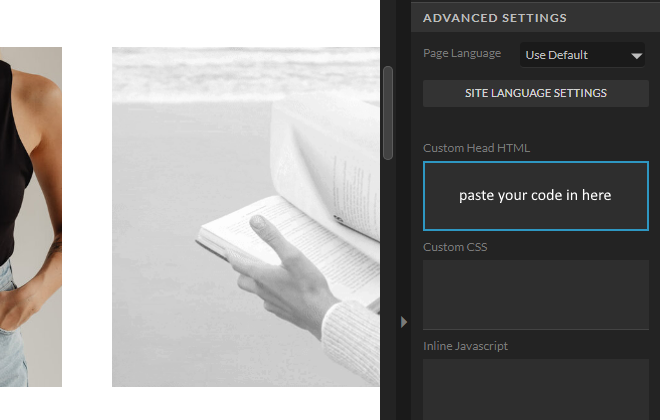
- Paste in your code from Flodesk
- Hit the Preview button in Showit to preview your popup before you publish
- If you want to change when the form appears, you can go back into Flodesk and edit the delay under Settings
- You can also change the background opacity in Flodesk as well
- That’s it, you’re done!
Setting up a workflow in Flodesk
If you’re delivering a freebie, you’ll also want to add a workflow. Workflows determine what action should be taken when someone signs up through one of your forms. You can choose to send a sequence of emails, and you can add/remove people from workflows using triggers.
Here’s a tutorial on how to set up a workflow in Flodesk
Adding multiple Flodesk forms to the same page
By default, Flodesk will only display one form on each page of your site, so if you want to add multiple Flodesk forms to the same page on your Showit website, you’ll need to apply a workaround.
Here’s a tutorial on how to add multiple Flodesk forms to the same page in Showit
That’s it, you made it!
I hope you found this post helpful. If you need more support with Flodesk, shoot me a message — I’d be happy to help you 🙂 And if you’re not already a Flodesk user and want to save 50% off your first year, here’s that link for you again:


Leave a Reply